








Studio 9 Photography Blog
3 Tricks for Sharper Close-Ups of Tiny Animals
Small subjects. Sharp thinking. Sharper photographs.
29/09/2026
3 Tricks for Sharper Close-Ups of Tiny Animals
Lessons from photographing Harvest Mice, Reptiles and mantises in the studio
Photographing a tiny animal sounds simple.
Put the animal in front of the camera, focus, press the shutter and you have your photograph.
Except it rarely works quite like that.
When your subject is only a few centimetres long, everything becomes more difficult. A tiny movement can throw the focus off. A small change in camera position can completely alter the composition. Even your lighting needs to be considered differently.
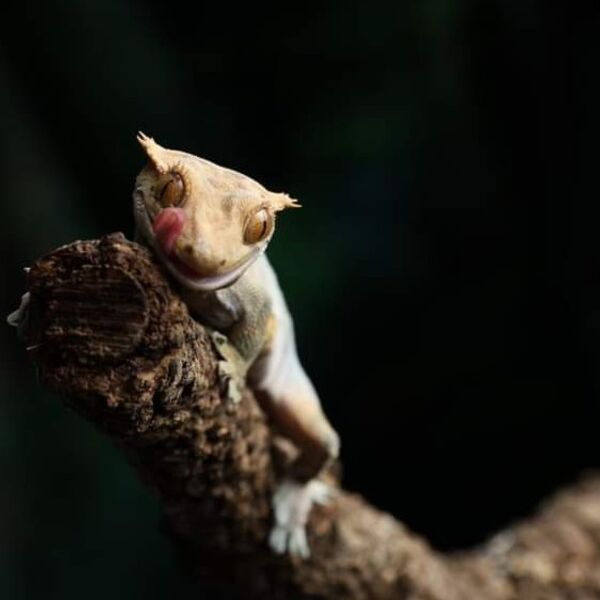
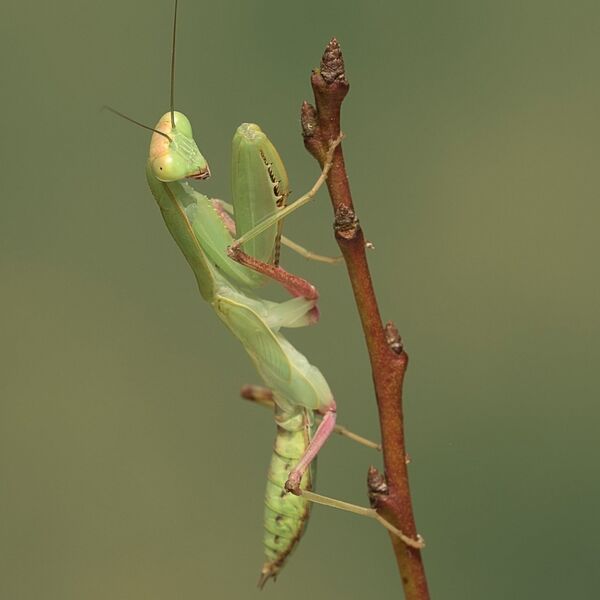
Over the years, working with subjects such as Harvest Mice, frogs and mantises at Studio 9, I’ve learned that getting a sharp close-up isn’t simply about having an expensive camera or the latest macro lens.
It is about control.
Here are three things that make a real difference.
________________________________________
1. Don’t Chase the Focus — Control Your Position
One of the biggest mistakes photographers make with small subjects is trying to solve everything with autofocus.
Autofocus can be incredibly useful, but with a tiny moving animal there may be very little depth of field to work with.
The animal moves.
You move.
The camera hunts.
The animal moves again.
And suddenly you’ve taken twenty photographs where the eyes aren’t quite sharp.
Instead, think about your position first.
Get yourself roughly where you want to be before worrying about taking the photograph.
If possible, position the camera so that the most important part of the animal — usually the eye — is sitting within the area where you want your sharpest focus.
Then wait.
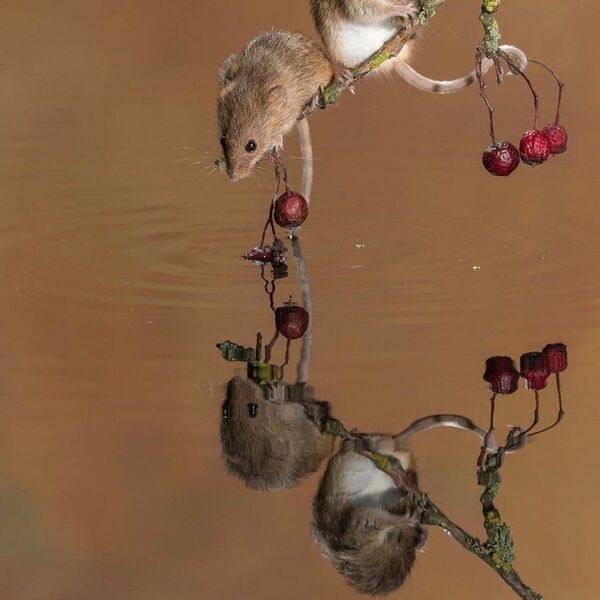
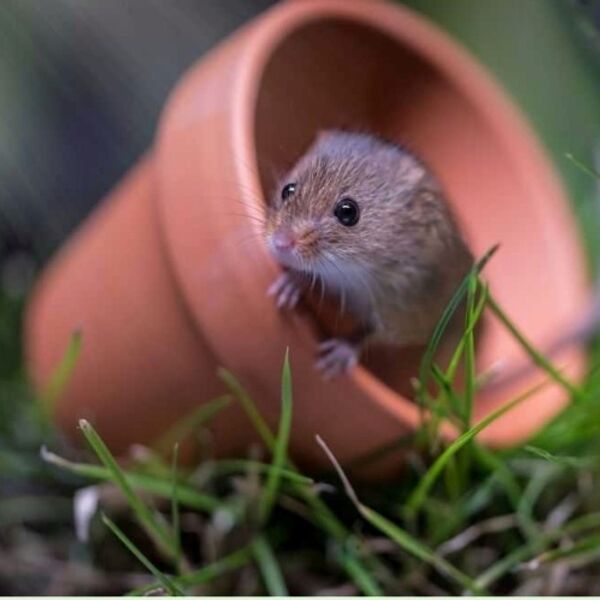
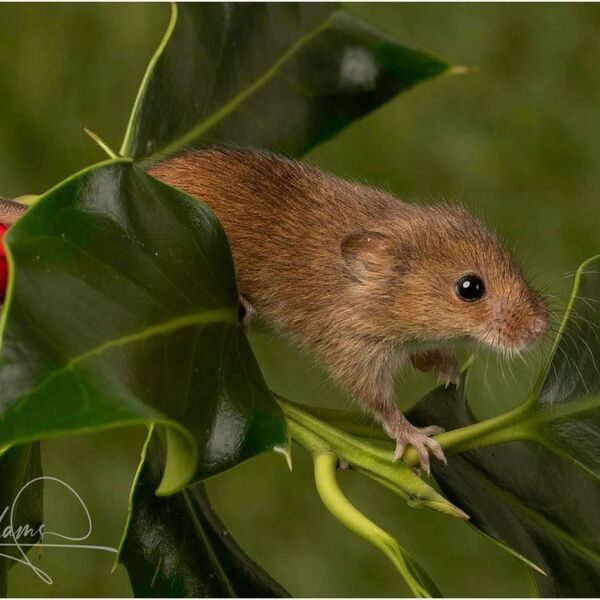
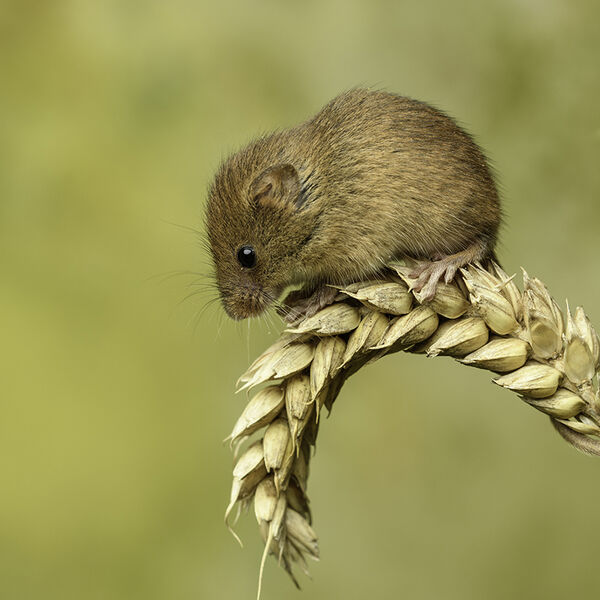
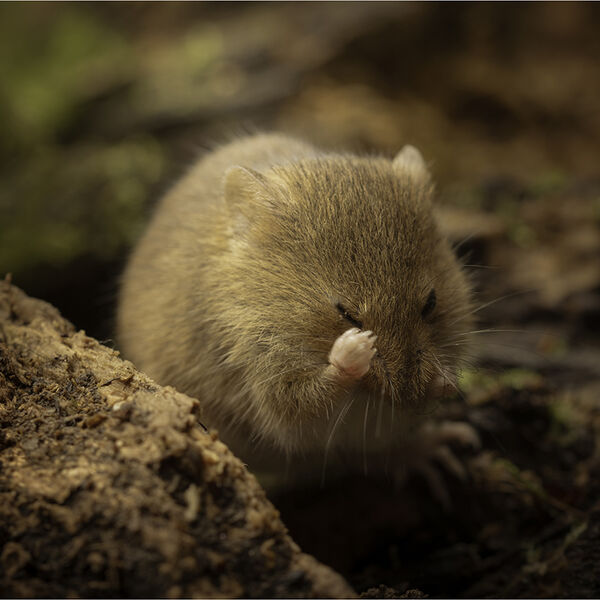
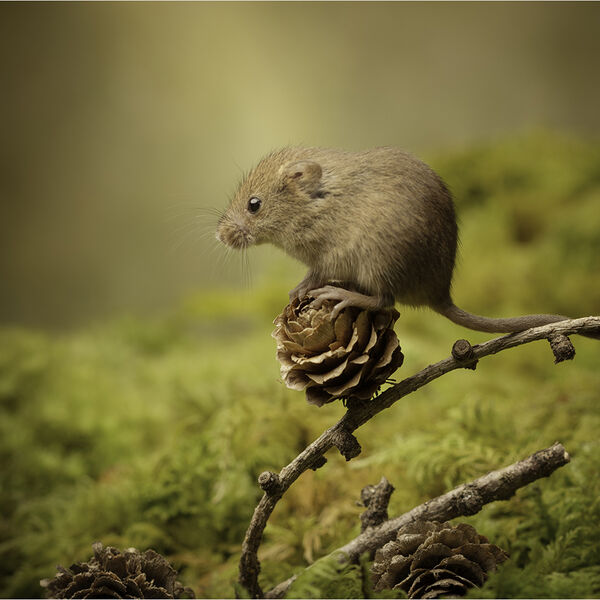
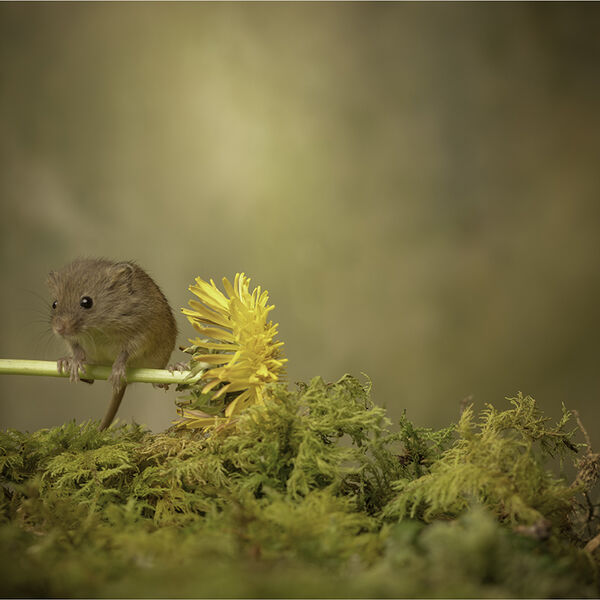
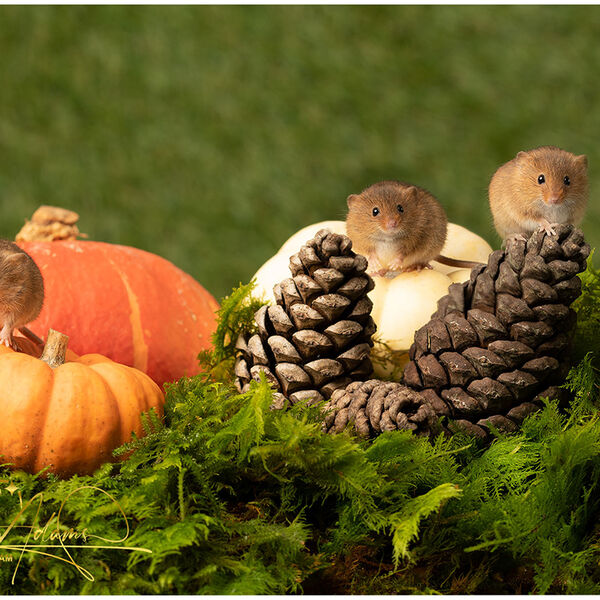
This is particularly useful with Harvest Mice.
They are constantly moving, climbing and investigating their environment. Rather than trying to force the animal into exactly the position you want, I prefer to create an environment where interesting behaviour is likely to happen naturally.
That turns photography into observation.
And observation usually produces better photographs.
________________________________________
2. Give Yourself Enough Depth of Field
There is a temptation with close-up photography to shoot everything wide open.
After all, we love that beautiful blurred background.
But there is a problem.
At very close focusing distances, your depth of field becomes incredibly thin.
You might have the nose beautifully sharp while the eyes are already soft.
Or one eye is sharp while the other has disappeared into blur.
For a tiny animal, that can make the difference between an image that feels alive and one that feels slightly disappointing.
Don’t be frightened of stopping down.
Something around f/8–f/11 can sometimes give you considerably more usable detail while still allowing the background to fall away beautifully. In studio work, you also have much more control over how that background behaves.
The trick is not simply to ask:
“How blurry can I make the background?”
Instead ask:
“How much of my subject needs to be sharp?”
That’s a much more useful question.
________________________________________
3. Light for Detail — Not Just Illumination
The third trick is perhaps the most important.
Lighting isn’t there simply so that we can see the animal.
It should help describe the animal.
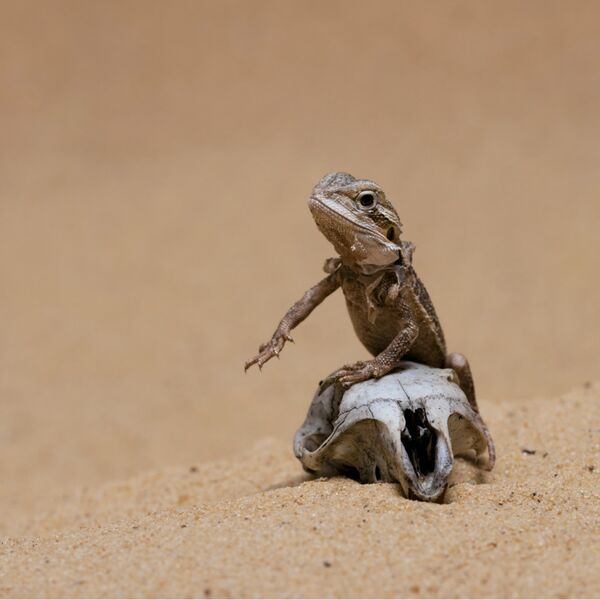
Tiny creatures have an incredible amount of detail.
Whiskers.
Individual hairs.
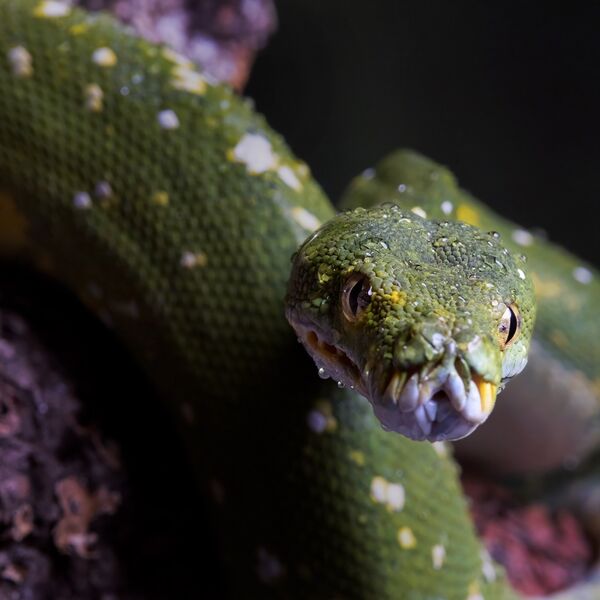
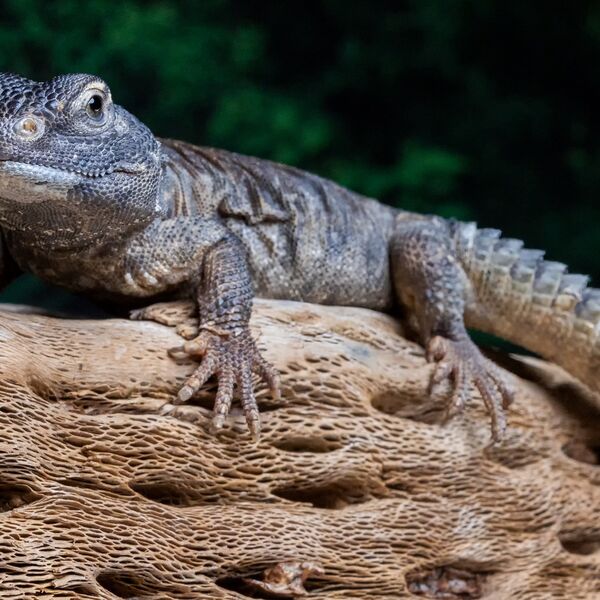
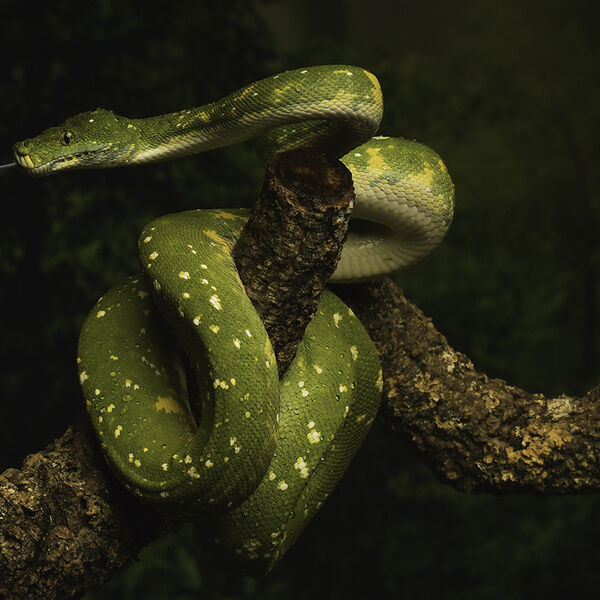
Scales.
Tiny claws.
Texture.
Eyes.
Fine patterns.
The wrong light can flatten all of that.
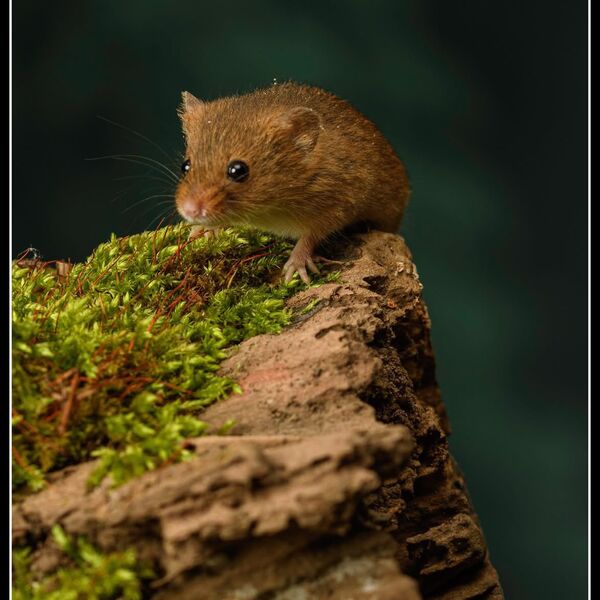
A large, soft light source can produce beautifully gentle illumination, while a carefully positioned directional light can reveal texture and shape.
Sometimes even moving a light a few centimetres can make a surprisingly dramatic difference.
This is one of the advantages of working in a controlled studio environment.
You aren’t simply accepting whatever light happens to be available.
You can shape it.
You can move it.
You can soften it.
You can increase contrast.
You can create separation.
And most importantly, you can experiment.
Studio 9’s specialist animal photography is built around that controlled approach, combining naturalistic sets with deliberate lighting rather than simply photographing an animal against an arbitrary background.
________________________________________
The Secret Isn’t the Camera
One of the questions I’m asked most often is essentially:
“What camera do you use?”
It’s an understandable question.
But the camera is only one part of the equation.
A sharp photograph comes from bringing several things together:
Subject + behaviour + positioning + focus + depth of field + lighting + timing.
Get those things working together and even a relatively simple setup can produce an impressive image.
And conversely, the most expensive camera in the world won’t compensate for poor light, poor positioning or a lack of patience.
________________________________________
And Then There’s Patience…
Tiny animals don’t read photography books.
They don’t understand posing.
They certainly don’t care that you’ve finally got your lighting perfect.
They do what they want.
And that’s part of the fun.
Some of my favourite images come from moments I wasn’t necessarily expecting.
A Harvest Mouse suddenly climbing a stalk.
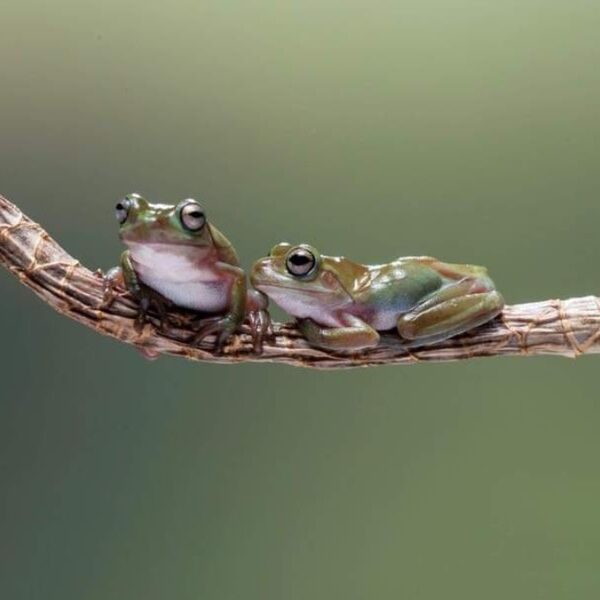
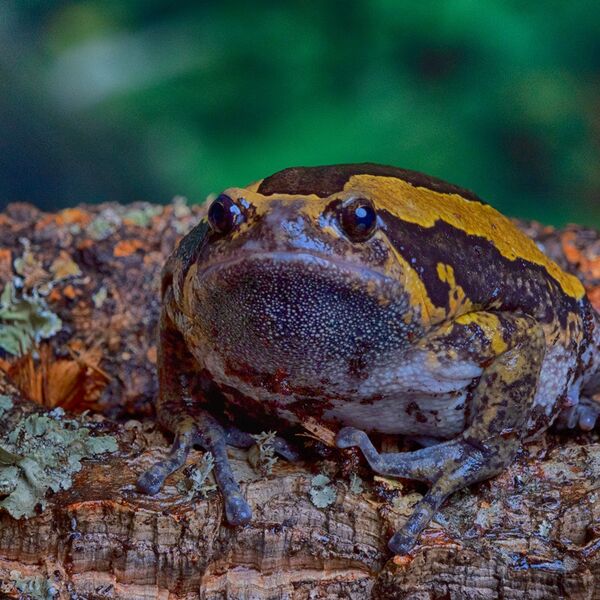
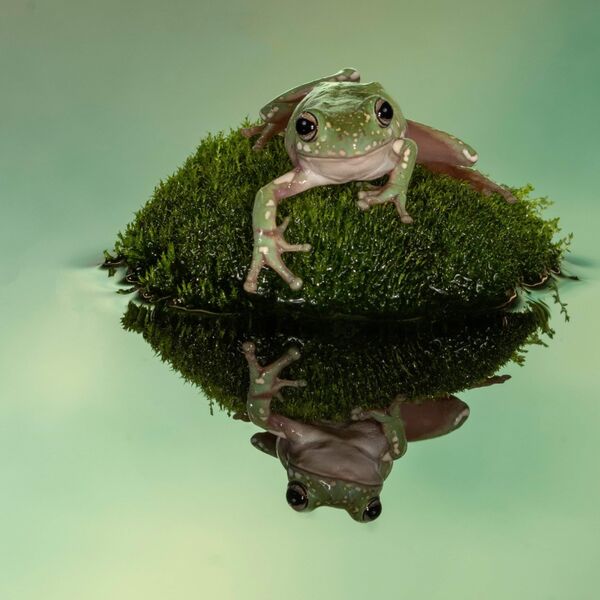
A frog turning towards the light.
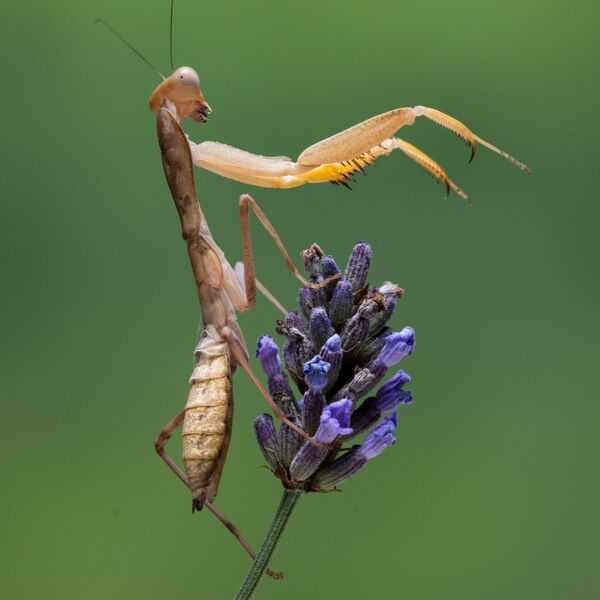
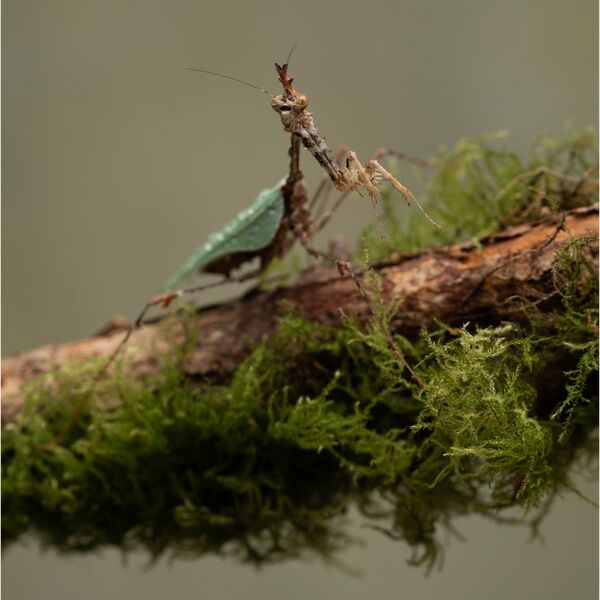
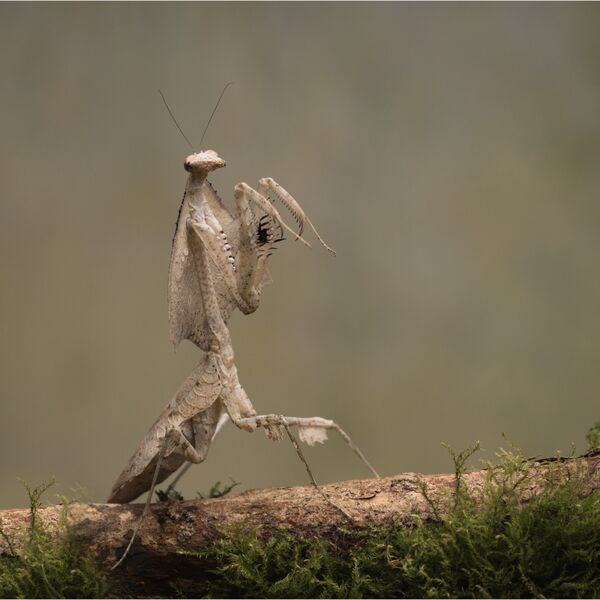
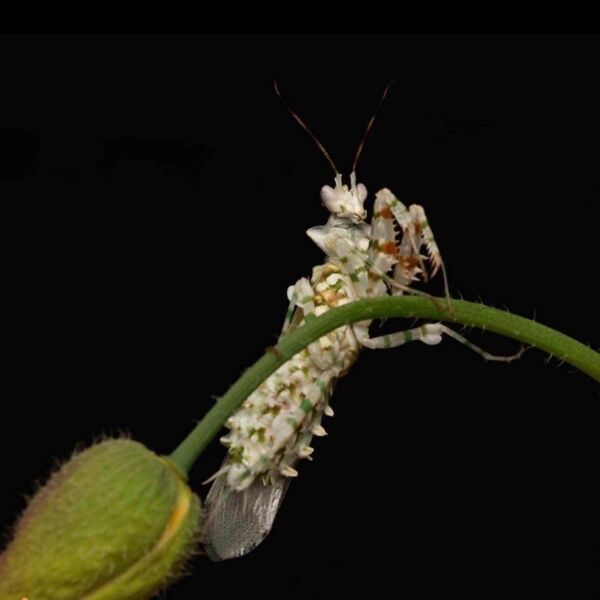
A mantis looking directly towards the lens.
Those moments cannot always be manufactured.
They have to be noticed.
That’s why close-up animal photography is as much about observation as it is about photography.
________________________________________
The Studio 9 Approach
Our specialist photography sessions are deliberately kept small so photographers have time to work, experiment and receive guidance rather than simply standing in a queue waiting for a turn.
The aim isn’t for everyone to go home with the same photograph.
Quite the opposite.
I want photographers to understand why something works.
Once you understand that, you can take that knowledge away and apply it to almost anything.
A Harvest Mouse.
A frog.
A mantis.
A product.
A flower.
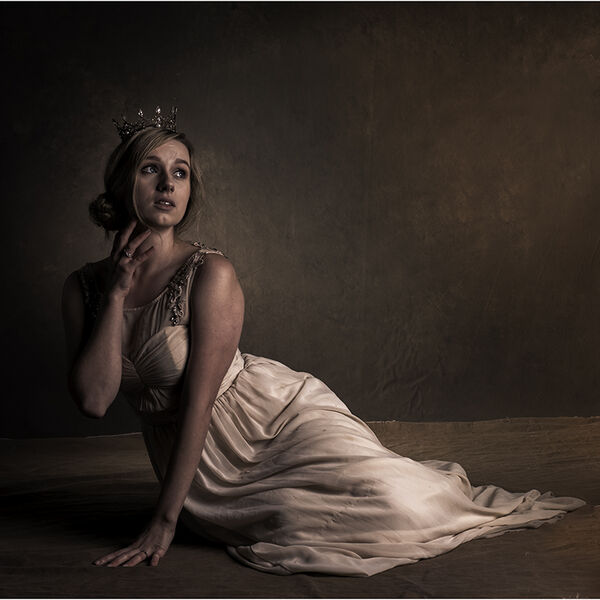
Even a portrait.
Because ultimately, photography is photography.
The subject may change.
The principles don’t.
________________________________________
Studio 9 Tip
Don’t ask how close you can get to your subject.
Ask:
How close can you get while still retaining control of focus, light and composition?
That small change in thinking can make a surprisingly big difference.
Lessons from photographing Harvest Mice, Reptiles and mantises in the studio
Photographing a tiny animal sounds simple.
Put the animal in front of the camera, focus, press the shutter and you have your photograph.
Except it rarely works quite like that.
When your subject is only a few centimetres long, everything becomes more difficult. A tiny movement can throw the focus off. A small change in camera position can completely alter the composition. Even your lighting needs to be considered differently.
Over the years, working with subjects such as Harvest Mice, frogs and mantises at Studio 9, I’ve learned that getting a sharp close-up isn’t simply about having an expensive camera or the latest macro lens.
It is about control.
Here are three things that make a real difference.
________________________________________
1. Don’t Chase the Focus — Control Your Position
One of the biggest mistakes photographers make with small subjects is trying to solve everything with autofocus.
Autofocus can be incredibly useful, but with a tiny moving animal there may be very little depth of field to work with.
The animal moves.
You move.
The camera hunts.
The animal moves again.
And suddenly you’ve taken twenty photographs where the eyes aren’t quite sharp.
Instead, think about your position first.
Get yourself roughly where you want to be before worrying about taking the photograph.
If possible, position the camera so that the most important part of the animal — usually the eye — is sitting within the area where you want your sharpest focus.
Then wait.
This is particularly useful with Harvest Mice.
They are constantly moving, climbing and investigating their environment. Rather than trying to force the animal into exactly the position you want, I prefer to create an environment where interesting behaviour is likely to happen naturally.
That turns photography into observation.
And observation usually produces better photographs.
________________________________________
2. Give Yourself Enough Depth of Field
There is a temptation with close-up photography to shoot everything wide open.
After all, we love that beautiful blurred background.
But there is a problem.
At very close focusing distances, your depth of field becomes incredibly thin.
You might have the nose beautifully sharp while the eyes are already soft.
Or one eye is sharp while the other has disappeared into blur.
For a tiny animal, that can make the difference between an image that feels alive and one that feels slightly disappointing.
Don’t be frightened of stopping down.
Something around f/8–f/11 can sometimes give you considerably more usable detail while still allowing the background to fall away beautifully. In studio work, you also have much more control over how that background behaves.
The trick is not simply to ask:
“How blurry can I make the background?”
Instead ask:
“How much of my subject needs to be sharp?”
That’s a much more useful question.
________________________________________
3. Light for Detail — Not Just Illumination
The third trick is perhaps the most important.
Lighting isn’t there simply so that we can see the animal.
It should help describe the animal.
Tiny creatures have an incredible amount of detail.
Whiskers.
Individual hairs.
Scales.
Tiny claws.
Texture.
Eyes.
Fine patterns.
The wrong light can flatten all of that.
A large, soft light source can produce beautifully gentle illumination, while a carefully positioned directional light can reveal texture and shape.
Sometimes even moving a light a few centimetres can make a surprisingly dramatic difference.
This is one of the advantages of working in a controlled studio environment.
You aren’t simply accepting whatever light happens to be available.
You can shape it.
You can move it.
You can soften it.
You can increase contrast.
You can create separation.
And most importantly, you can experiment.
Studio 9’s specialist animal photography is built around that controlled approach, combining naturalistic sets with deliberate lighting rather than simply photographing an animal against an arbitrary background.
________________________________________
The Secret Isn’t the Camera
One of the questions I’m asked most often is essentially:
“What camera do you use?”
It’s an understandable question.
But the camera is only one part of the equation.
A sharp photograph comes from bringing several things together:
Subject + behaviour + positioning + focus + depth of field + lighting + timing.
Get those things working together and even a relatively simple setup can produce an impressive image.
And conversely, the most expensive camera in the world won’t compensate for poor light, poor positioning or a lack of patience.
________________________________________
And Then There’s Patience…
Tiny animals don’t read photography books.
They don’t understand posing.
They certainly don’t care that you’ve finally got your lighting perfect.
They do what they want.
And that’s part of the fun.
Some of my favourite images come from moments I wasn’t necessarily expecting.
A Harvest Mouse suddenly climbing a stalk.
A frog turning towards the light.
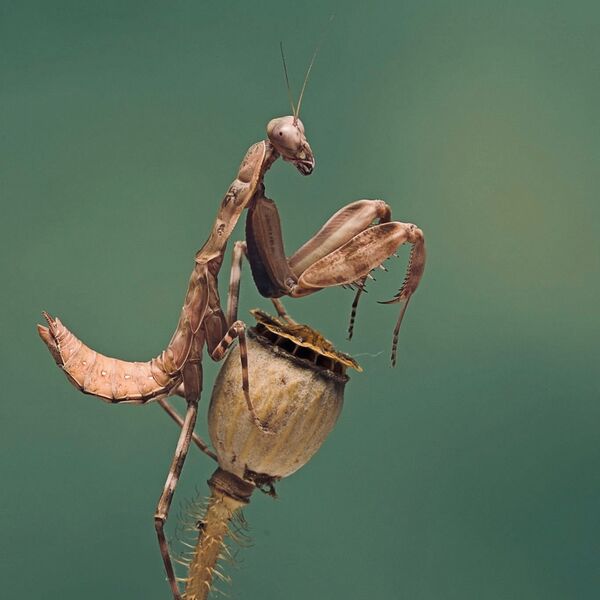
A mantis looking directly towards the lens.
Those moments cannot always be manufactured.
They have to be noticed.
That’s why close-up animal photography is as much about observation as it is about photography.
________________________________________
The Studio 9 Approach
Our specialist photography sessions are deliberately kept small so photographers have time to work, experiment and receive guidance rather than simply standing in a queue waiting for a turn.
The aim isn’t for everyone to go home with the same photograph.
Quite the opposite.
I want photographers to understand why something works.
Once you understand that, you can take that knowledge away and apply it to almost anything.
A Harvest Mouse.
A frog.
A mantis.
A product.
A flower.
Even a portrait.
Because ultimately, photography is photography.
The subject may change.
The principles don’t.
________________________________________
Studio 9 Tip
Don’t ask how close you can get to your subject.
Ask:
How close can you get while still retaining control of focus, light and composition?
That small change in thinking can make a surprisingly big difference.